


Hello! This guide will walk you through setting up and using the Microsoft Authenticator for Multi-factor Authentication (MFA).
-
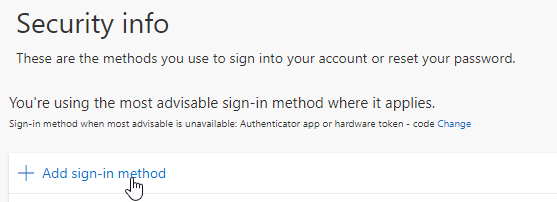
On your NSTXL computer go to the My Sign-Ins | Security Info page.
-
Click on + Add sign-in method.
-
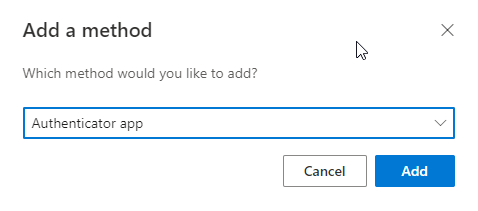
Select Authenticator app from the drop-down menu and click Add.
-
The next step prompts you to install the Microsoft Authenticator app on your phone.
Open the app store on your phone, then search for and install the official Microsoft Authenticator app.
If you are reading this on your phone, you can find them here:
iPhone | Android
-
Once downloaded, open the Microsoft Authenticator app on your phone and tap the plus (+) icon in the upper-right.
-
Select Work or school account, then select Scan QR code from the prompt.
-
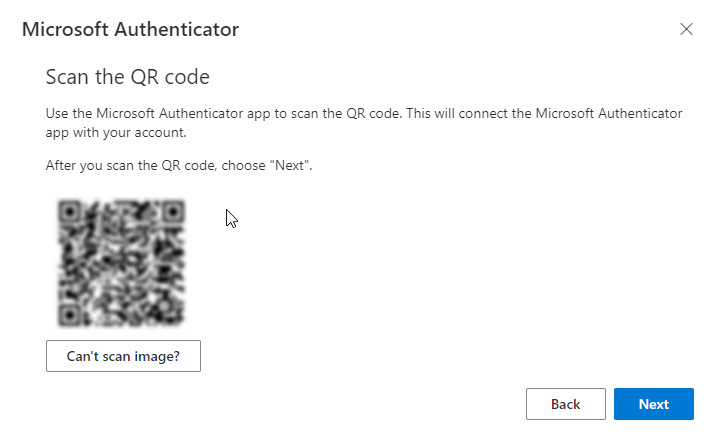
Back on your computer, click Next on the Set up your account prompt and you will be presented with a QR code.
-
Scan the QR code with the Microsoft Authenticator app and follow any prompts to finish adding your account.
-
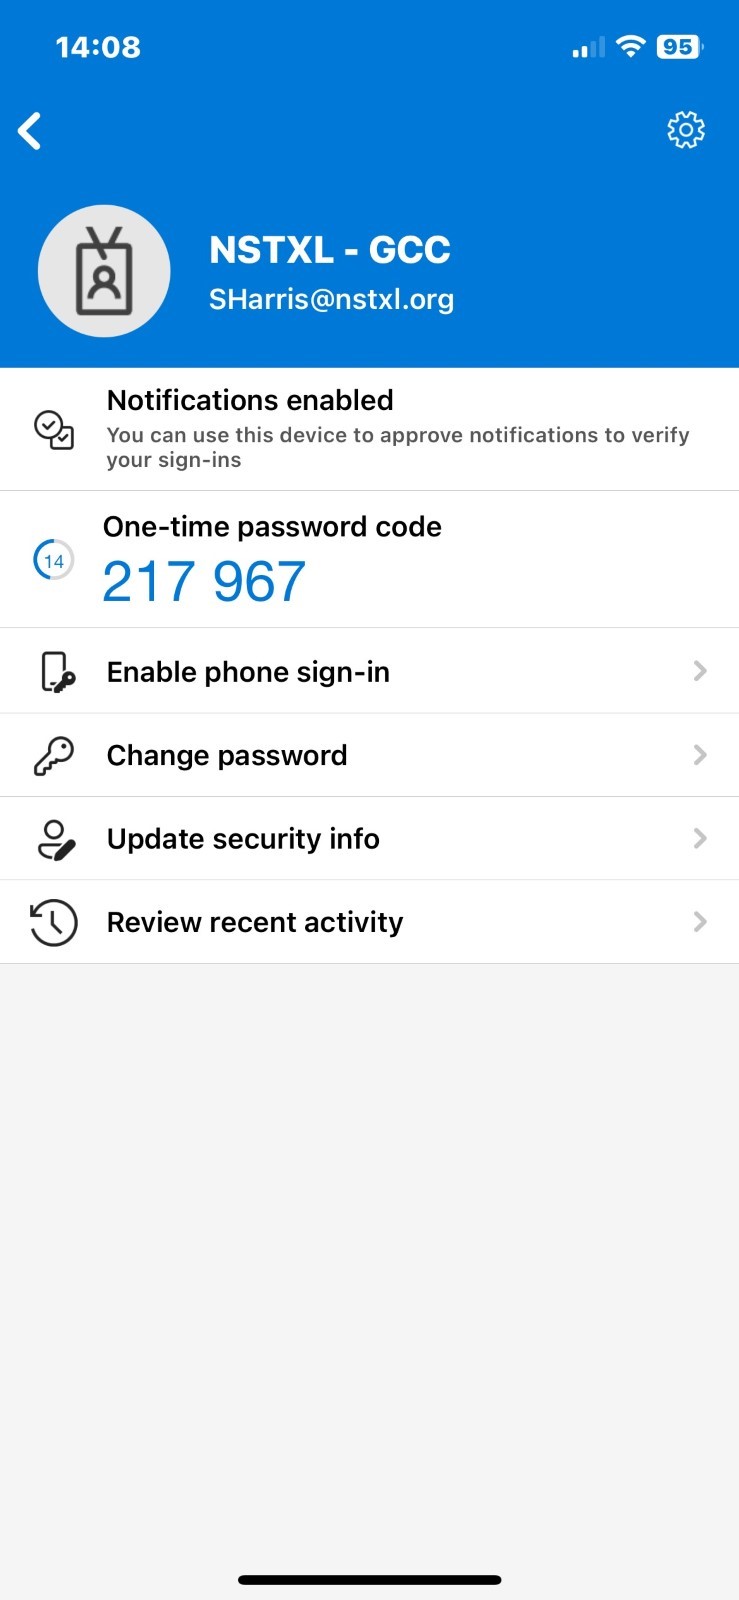
Once successfully added, your account should be shown on the main page of the Microsoft Authenticator app. If you tap on your account, you should see a 6-digit one-time passcode that resets every 30 seconds.
This is the code you will use when prompted to provide a code when signing into your account.
Note:
If this is your first time setting up the Microsoft Authenticator app, you might receive a prompt asking permission to use your phone’s camera. You must select Allow so the app can access your camera to scan the QR code.
Optional Extra (recommended):
Change your default multi-factor authenticator (MFA) method to the app
-
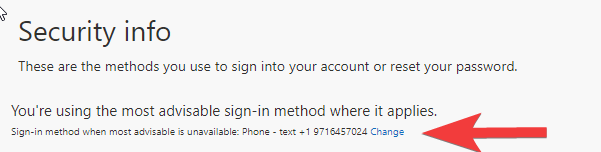
Navigate to the My Sign-Ins | Security Info page and click on Change next to the current sign-in method. (It’s very small)
-
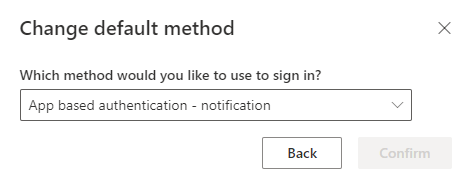
In the prompt that opens, select App based authentication – notification from the drop-down menu and click Confirm.
-
Now when you sign in you will be prompted to confirm with a notification on your phone.

